Showing posts with label craft. Show all posts

Friday, November 8, 2013

DIY - Magnetic Spice Rack

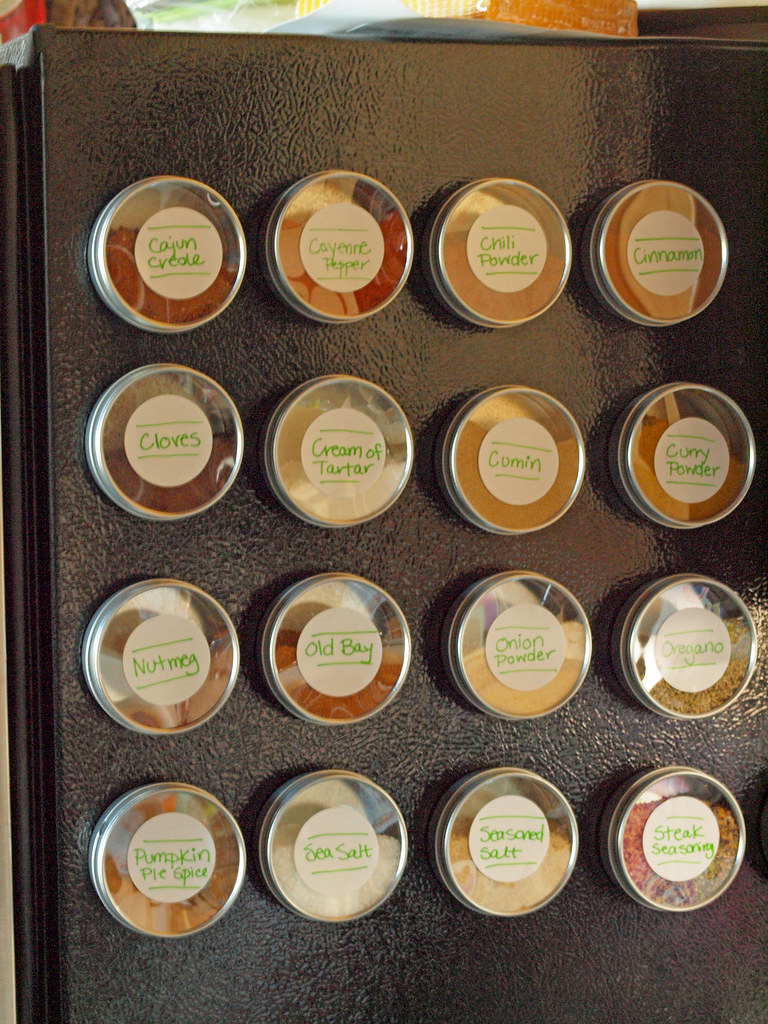
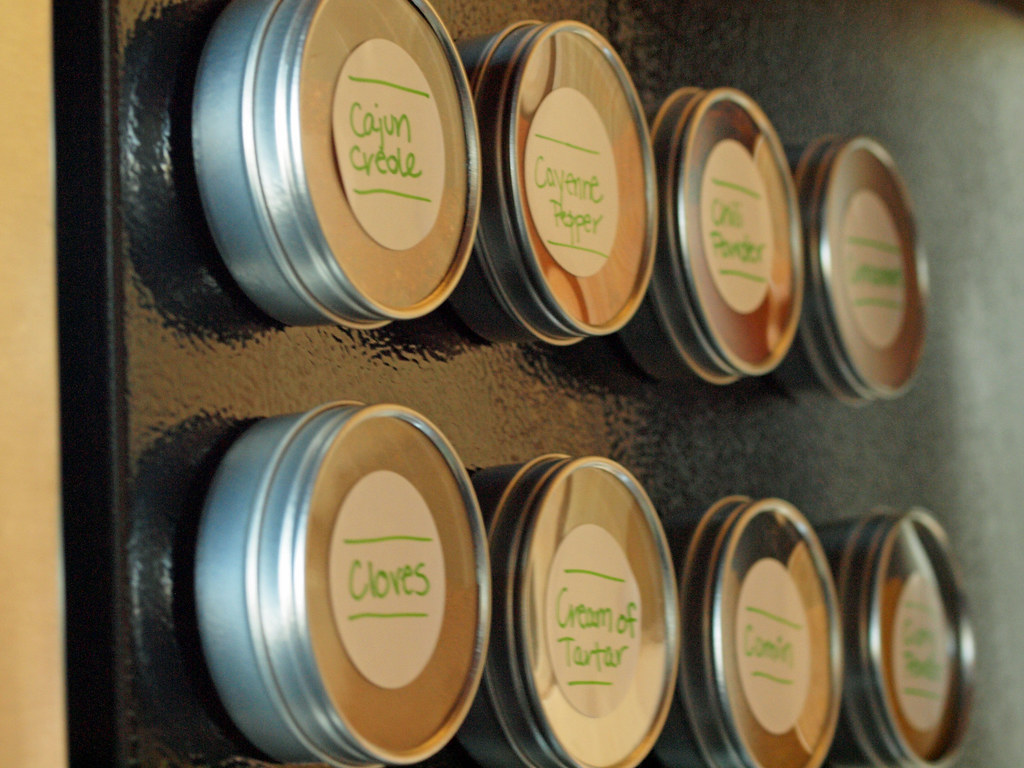
This isn't my invention at all. I saw this on A Beautiful Mess and it was one craft I knew would work for me. I've said this a bunch of times but my place is small and doesn't really have much in the way of storage. Everything has to be out so it also has to look nice. I wanted to display my spices more so because of my deep cupboards and forgetfulness (see my cupboard re-do from yesterday). Now I know exactly what spices I have, what I need and I can clearly see when I'm running low. It's awesome! I think I will use spices more now because they are right next to the stove and clearly visible.

On ABM, they used a magnetic board to display their spices but I decided to use my underutilized fridge. I have a stainless steel one so only the side is magnetic. The only part that is visible is between the top of the counter and the bottom of the upper cabinet. Perfect spot for spices since the fridge is right next to the stove!

Before:
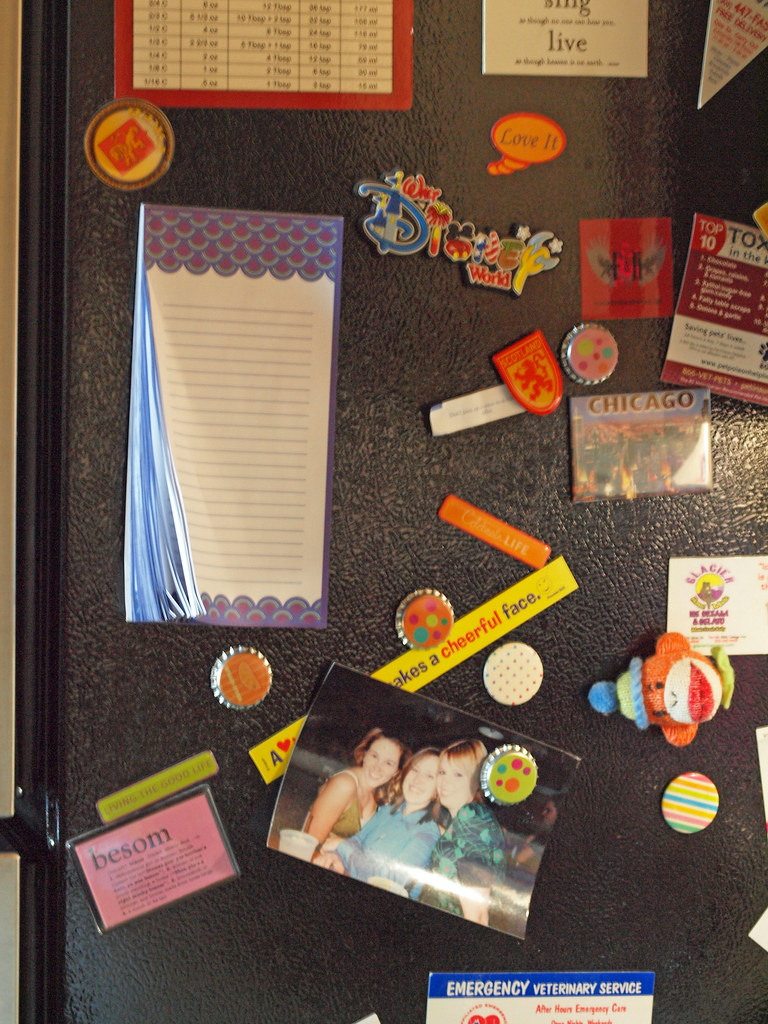
10.30.13 017

You can consult the original DIY on ABM here but this is what I did. I ordered the jars online here and ordered 25 (I linked to the specific jar I bought). They were actually pretty reasonably priced and I will have extras for when I want to add more spices down the road. Then, I just picked up a basic set of circle labels and a perfect green sharpie from Staples. I ordered circle magnets online but they didn't come soon enough and I wanted to get this project done. When I was organizing my craft bins for this DIY, I found some magnets I had ordered on Etsy a long time ago. I just taped them to the back of the jars with clear tape. That was it! I might swap them for the ones that just came from Amazon or leave them as is for now.
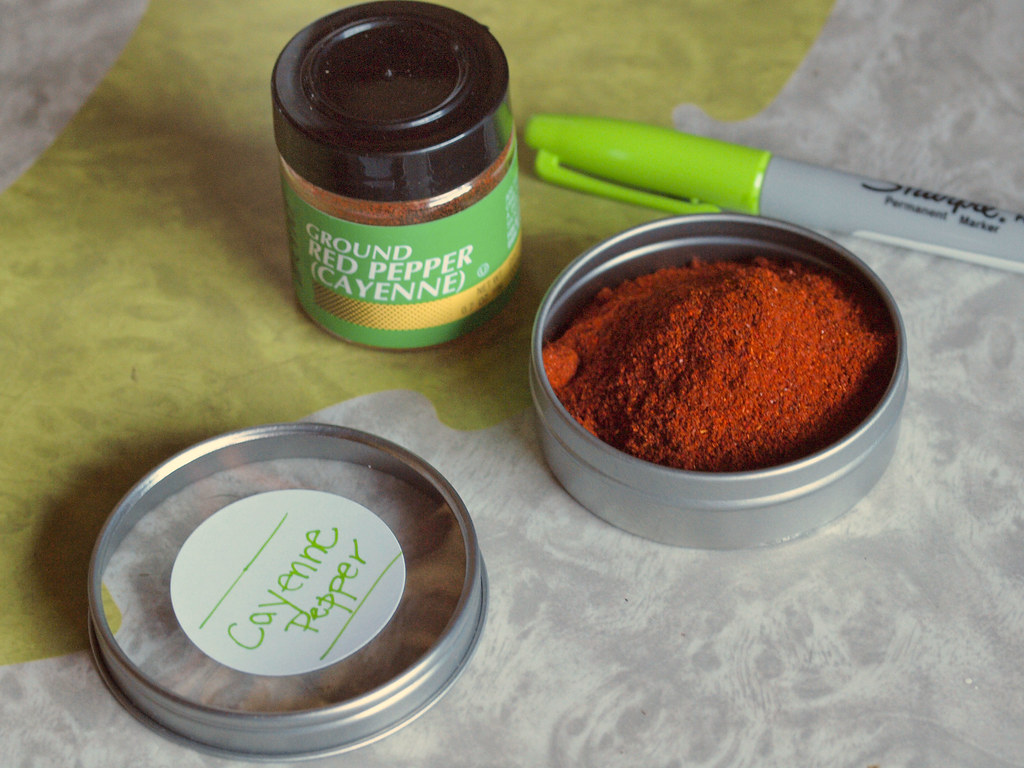
10.30.13 026

The jars are the perfect size for the smaller spice jars you get at the store. If you buy one of the larger ones, just pour what you want in the jar and put the rest in the back of the cupboard. I think this will also be a lot easier when baking because it will be much easier to get the measuring spoon into this jar opening than the tiny one they come in! Plus, I can buy spices from markets or specialty stores now. Since they usually come in bagies, I was always hesitant to get them before. Horizons=expanded! haha
10.30.13 028

10.30.13 032

PS, I also alphabetized mine cause I'm cool like that...


Thursday, November 7, 2013

DIY - Organization

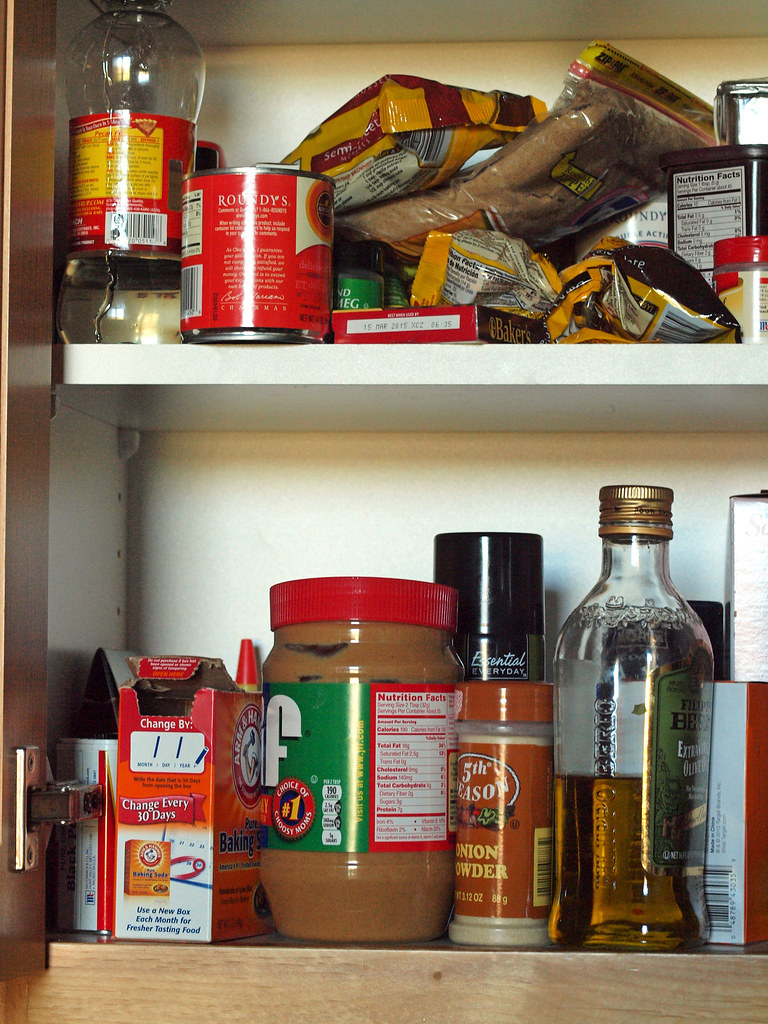
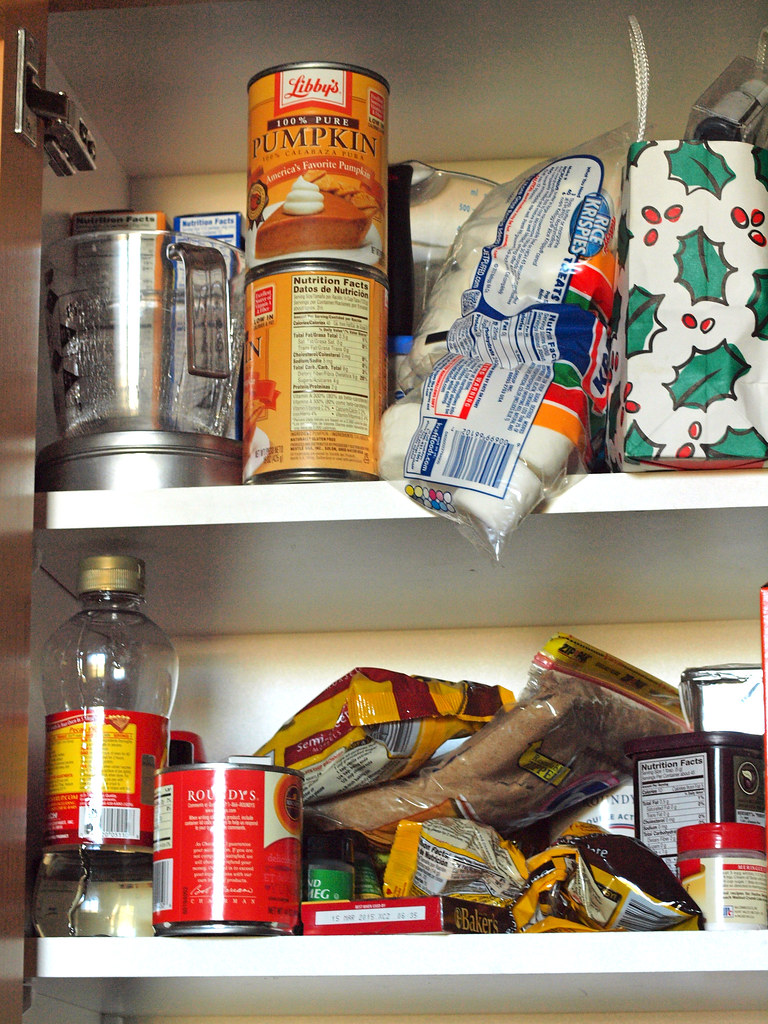
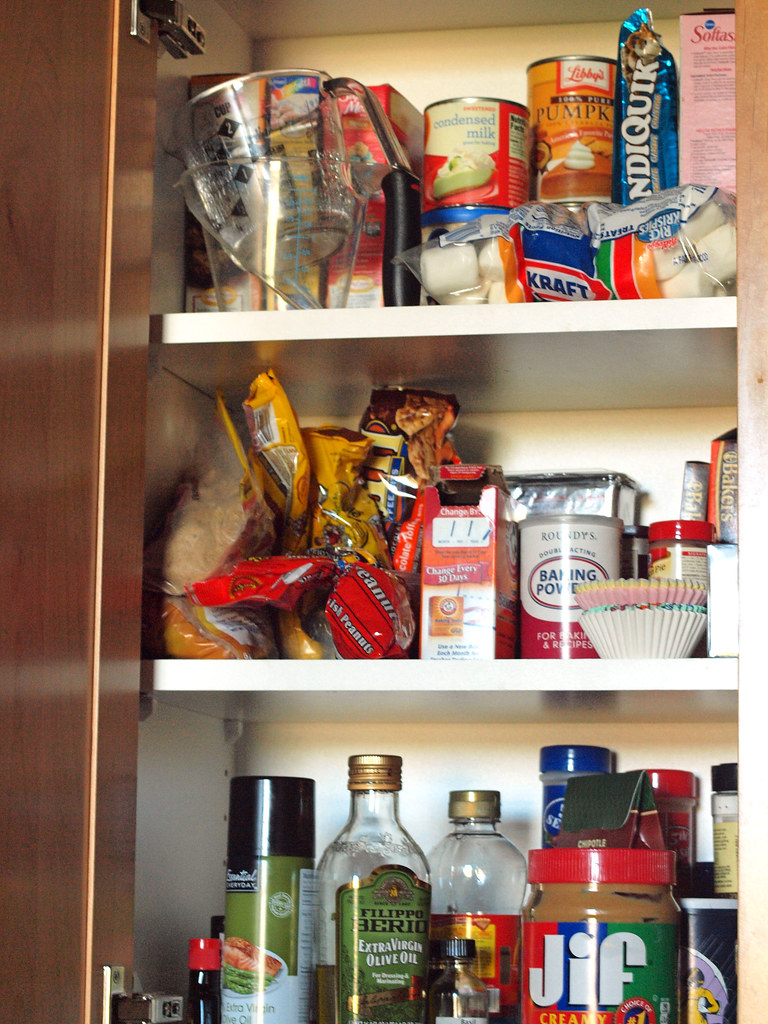
Whenever I throw a party, I somehow decide to tackle a bunch of house projects right before. Do you do that? I feel like it's the push I need to get stuff done but it also makes me stressed out. I am happy that I got around to doing some organization though. In my quest to be more organized, I decided to head over to the Container Store the other day. Oh boy. I did not know what I was getting myself into. Have you ever been there? PS it's heaven. I never knew all the things I needed to organize before I walked in there. I bought so much stuff. One thing I picked up was a lazy susan. My cupboards are quite small but very deep. Since I only have 3 upper cabinets, I wanted to make better use out of at least one of them. I'm going to show you the before but don't be scared...

10.30.13 020

10.30.13 021

Notice how you can't see anything in the back? Yeah, that's a problem. I have like 5 bags of chocolate chips because I keep buying them since I don't know they are there. Enter the lazy susan (cue angelic music). 

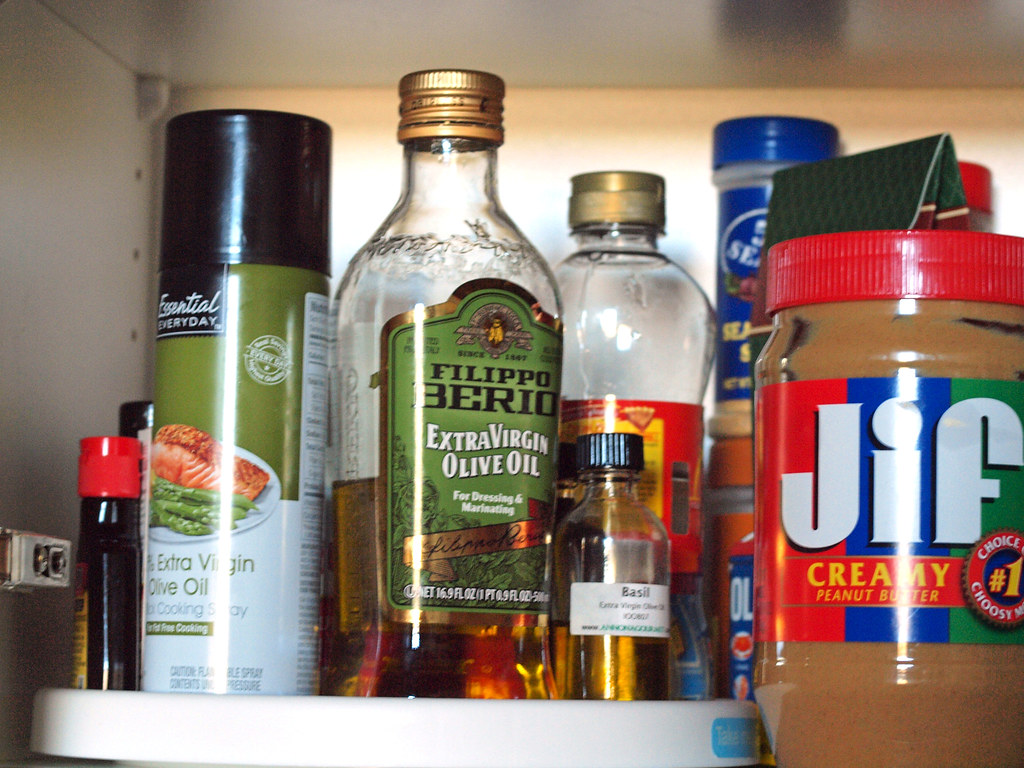
10.30.13 034

10.30.13 040

I know it still looks kind of crowded but I can spin that lazy susan and see everything that's in there. All the stuff I don't use it way in the back and my peanut butter (Jif holla!) still has room to be front and center. You don't know how many things I pulled out from the back of the cupboard and said, "I KNEW I had ____" or "Huh, I didn't know I had _____. Could have come in handy that one time." Now everything is much more accessible and my forgetful brain is happier.

What made this possible is what I did with the spices. Stay tuned for that tomorrow!

Monday, November 4, 2013

DIY - Painted Boxes

I have to admit, this DIY isn't hard or complicated. I do really like the results though so I thought I would share with you! I needed some new containers to hold things on my bookshelf but still have them look good because they will be out. Since I only have 3 closets in my place, there is really no place to hide anything. I wanted the storage to be nice and fit in with the decor/style I already have. Plus, I didn't want them to be clear, plastic or open on top. Filling all of these criteria was harder than I thought! Then, I found these unpainted wood boxes at Michaels when I was halloween shopping and thought they would work well.

Materials: 2 colors of paint (one for the base and one for the stripes), sponge brush and wood boxes

Step 1: Paint both boxes white (or whatever you want your base color to be). I let mine dry overnight before I started the next step.

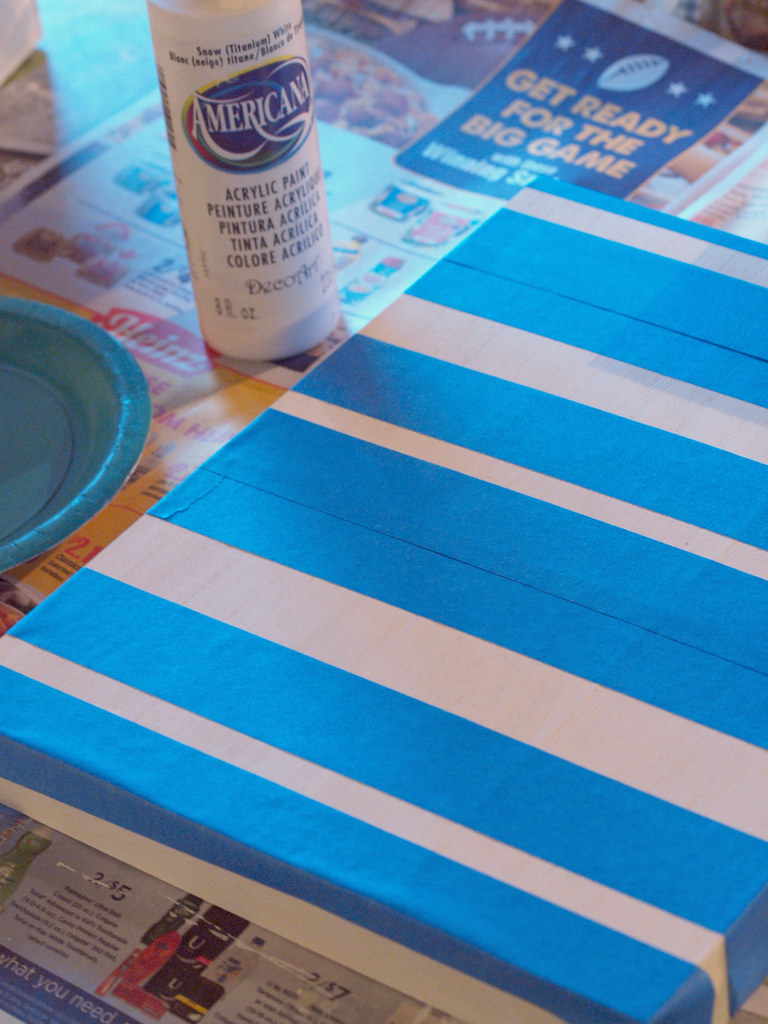
Step 2: Tape off the design that you want. I did one with a chevron pattern and one with different sized stripes. The horizontal stripes were much easier to tape FYI.

10.30.13 001

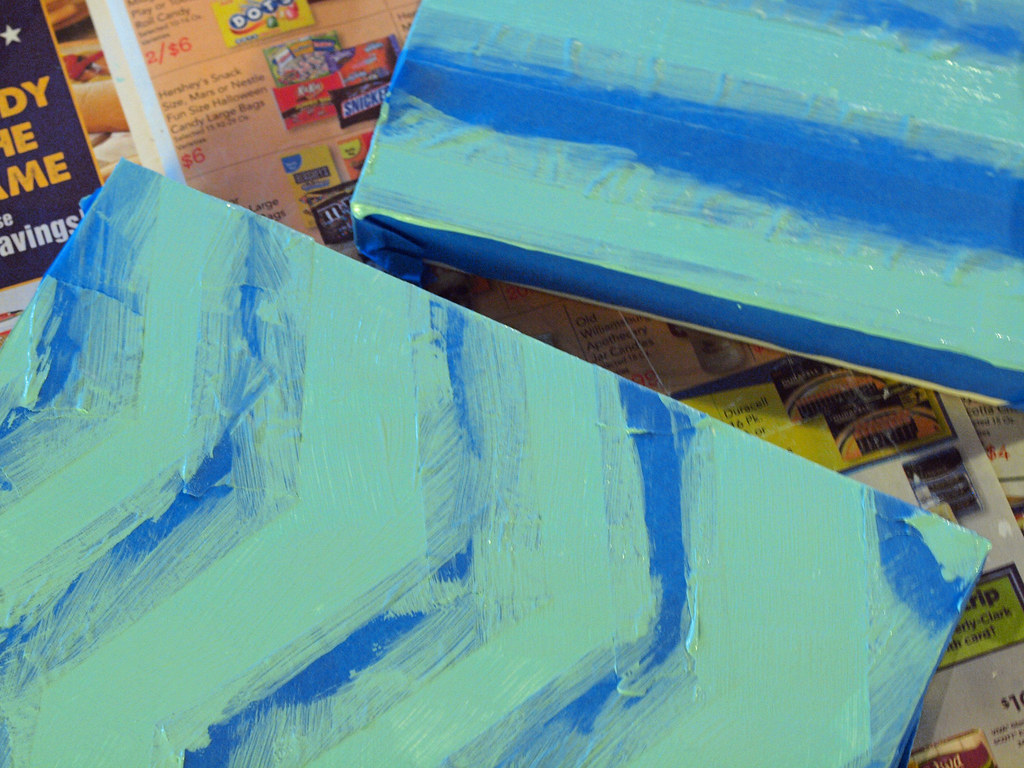
Step 3: Paint the color you want for the stripes

10.30.13 005

Step 4:
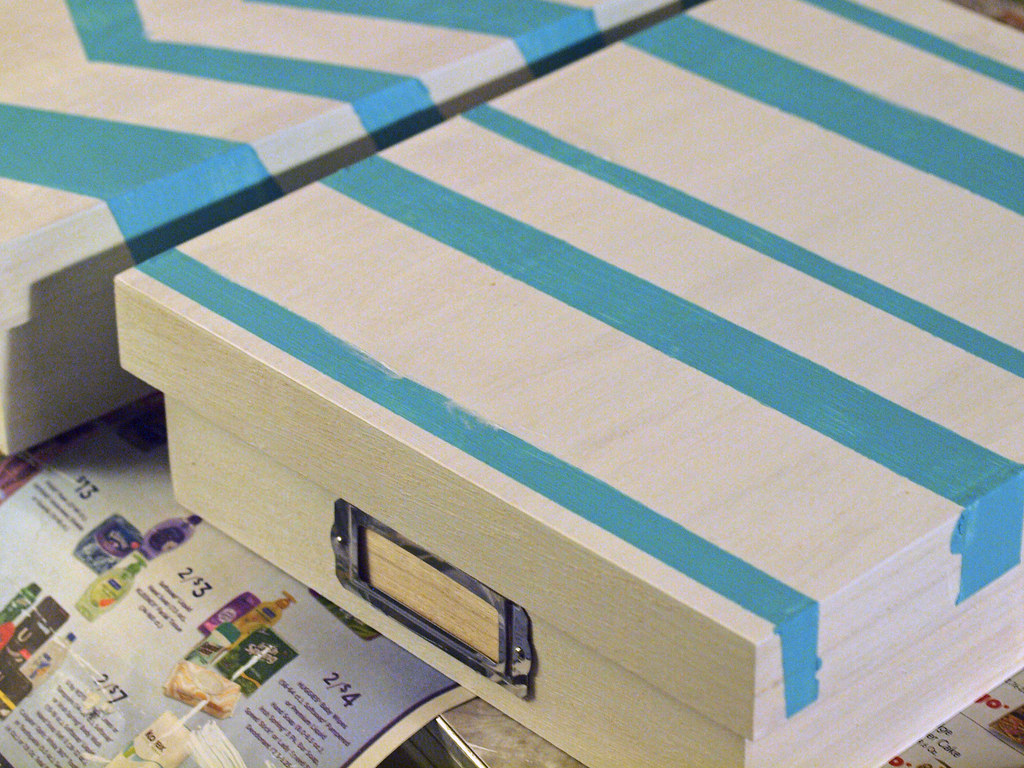
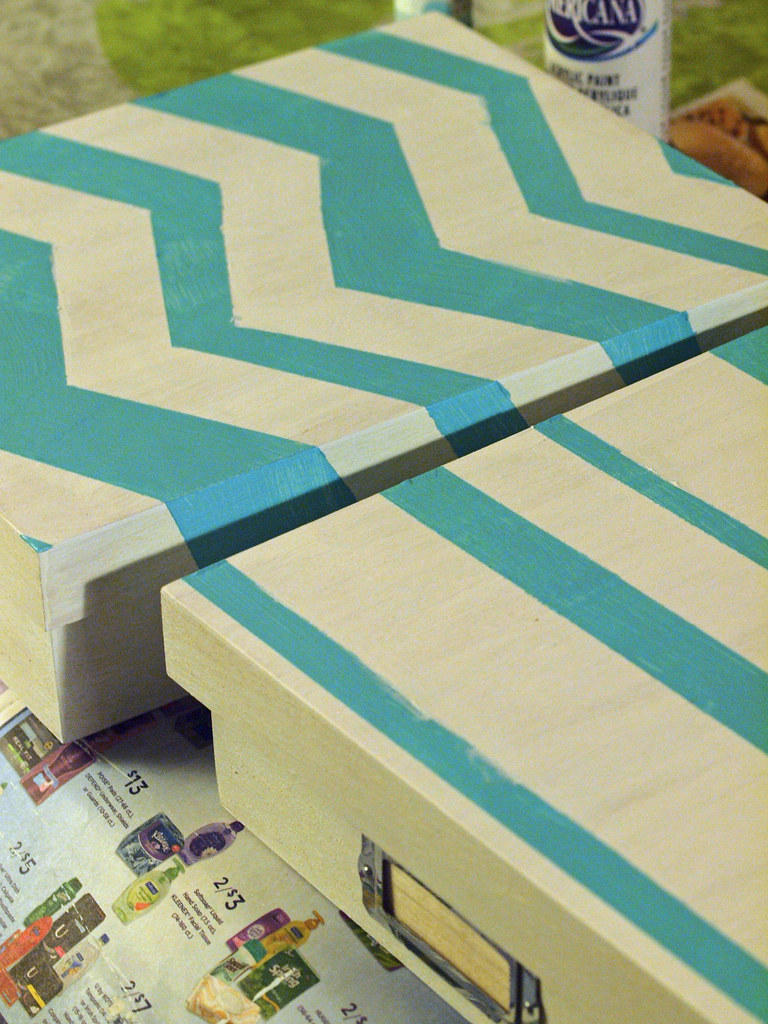
Let dry for a couple of hours or overnight, then remove the tape. Voila!

10.30.13 007

10.30.13 008

Optional Step 5: My taping wasn't perfect so I did get some bleed through. I went back with my white paint and tried to touch up some of the spots where the lines weren't perfect.


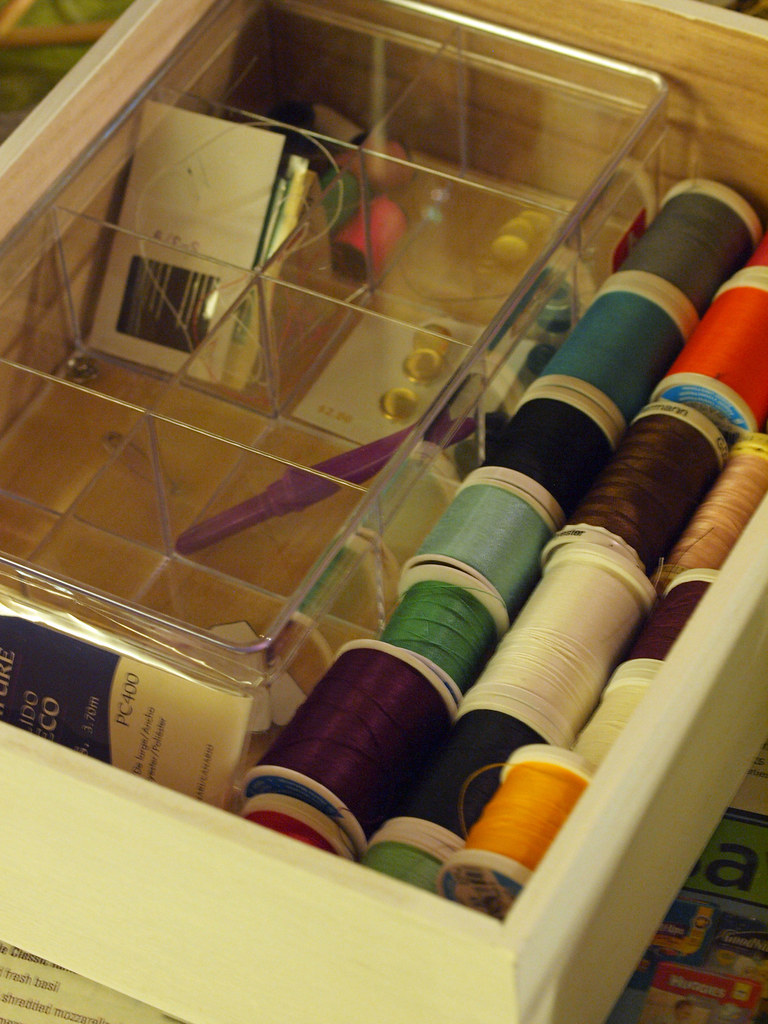
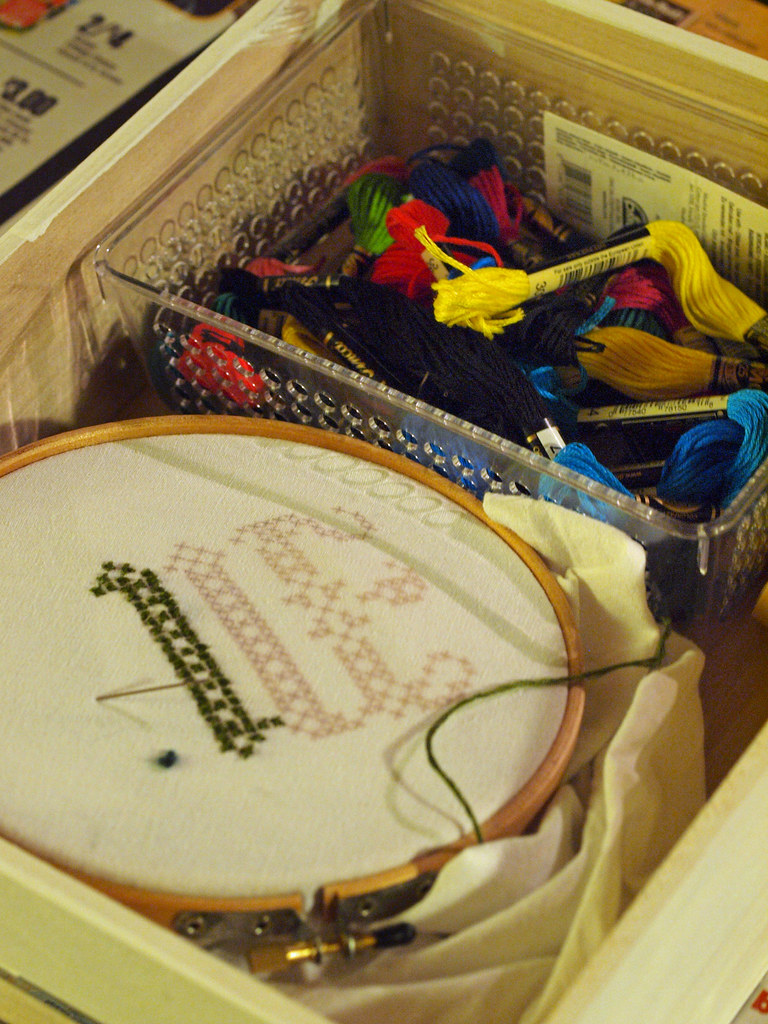
I made one box my sewing box and one for my emboidery. This is a big upgrade from all the different places I used to store all this stuff. Now it's all in one spot!

10.30.13 012
I got this plastic container from the container store for about $3 or $4 and it's been working well so far.

10.30.13 015
This little plastic box was from the dollar section at target and works great to wrangle all my thread.

Wednesday, March 27, 2013

Creating a Quilt

Hey all, I need some help!  I'm creating a (secret) quilt for my cousin and her little girl that's due in June. I went to my favorite fabric store last night and now I'm having a hard time deciding what to get! My plan is to make a pinwheel style quilt sort of like these.  So I'll need a couple of different fabrics.
   

For the color scheme, I'm going based on the picture of the rug in the baby's room that she sent me. Also she said they were going with golden yellow and a range of blues.

I need help narrowing it down! I like the one on the right above the best but I'll obviously make it smaller :) After the research into pinwheel quilts for this post (haha) I decided I want to do one light fabric and about 4 or 5 other fabrics in darker shades.  Should I do the yellow as the light color and do blues for the "darker" blocks? Or should I do a cream for the light color and vary the blues and yellows for the blocks? I took pictures at my favorite fabric store of a couple of fabrics that caught my eye. Let me know what you think! I need help!


If do the yellow as the lighter part of the block, I could go darker on the blues but would probably not do the yellow... so many choices!!