Materials: 2 colors of paint (one for the base and one for the stripes), sponge brush and wood boxes
Step 1: Paint both boxes white (or whatever you want your base color to be). I let mine dry overnight before I started the next step.
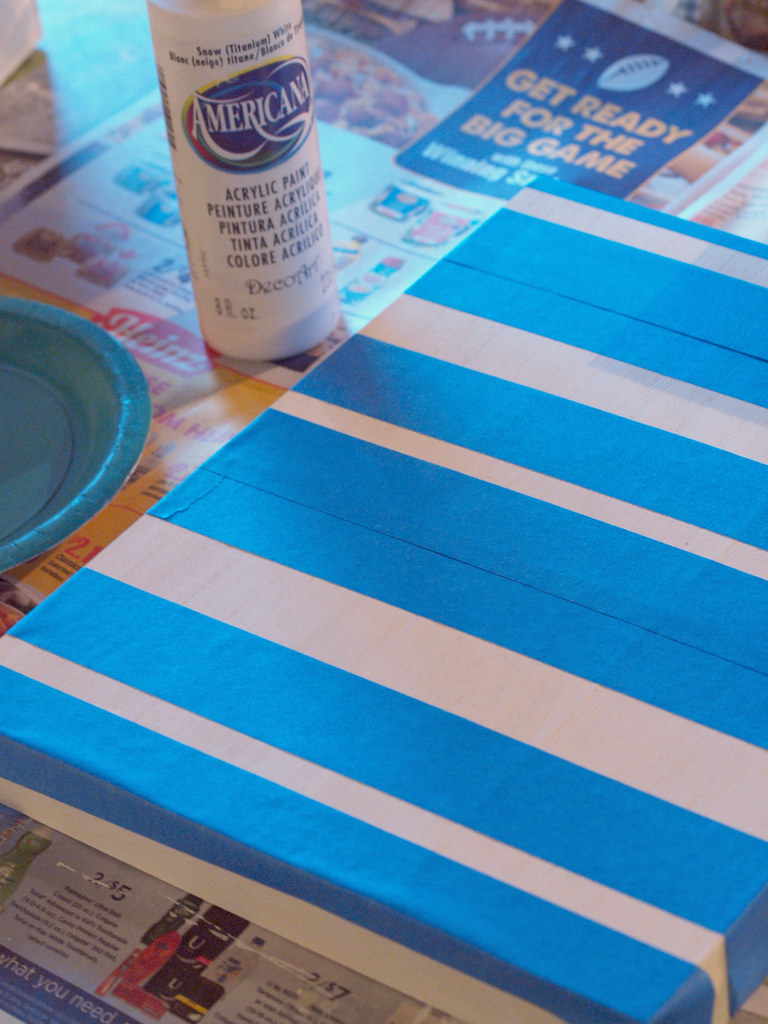
Step 2: Tape off the design that you want. I did one with a chevron pattern and one with different sized stripes. The horizontal stripes were much easier to tape FYI.
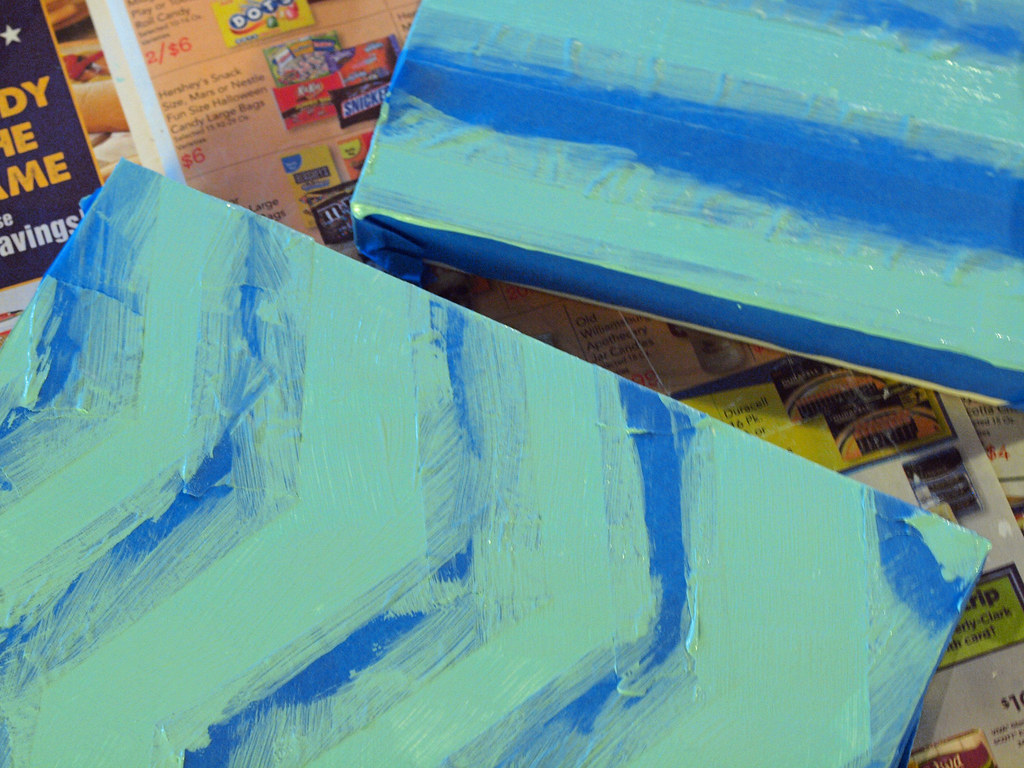
Step 3: Paint the color you want for the stripes
Step 4:
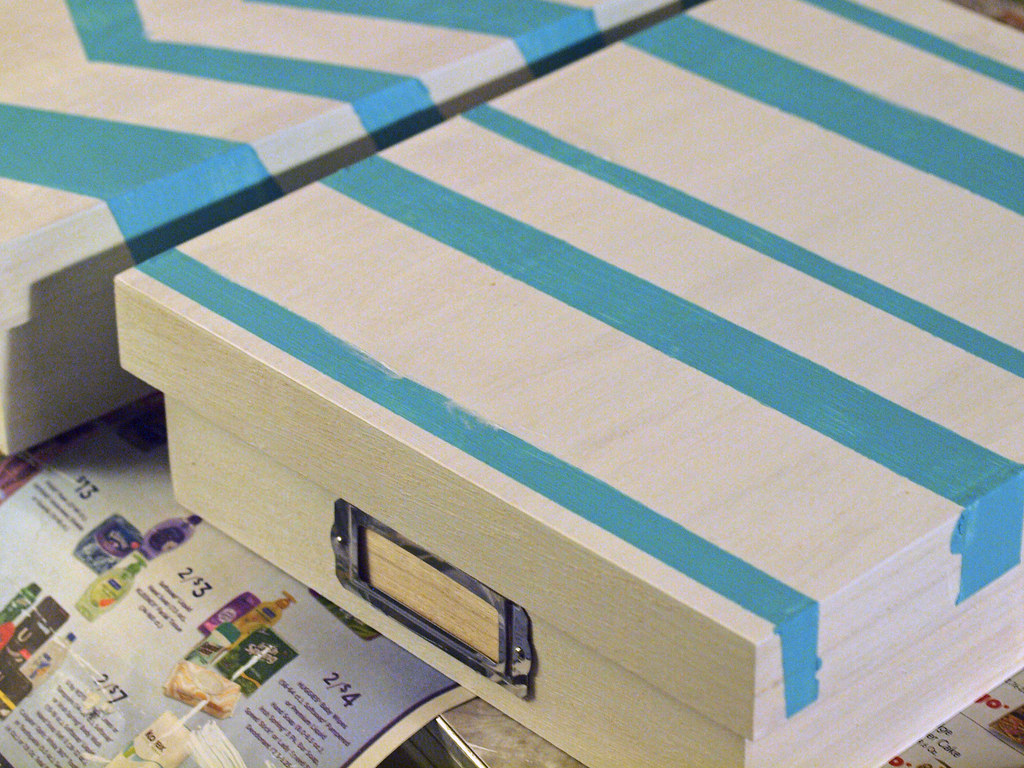
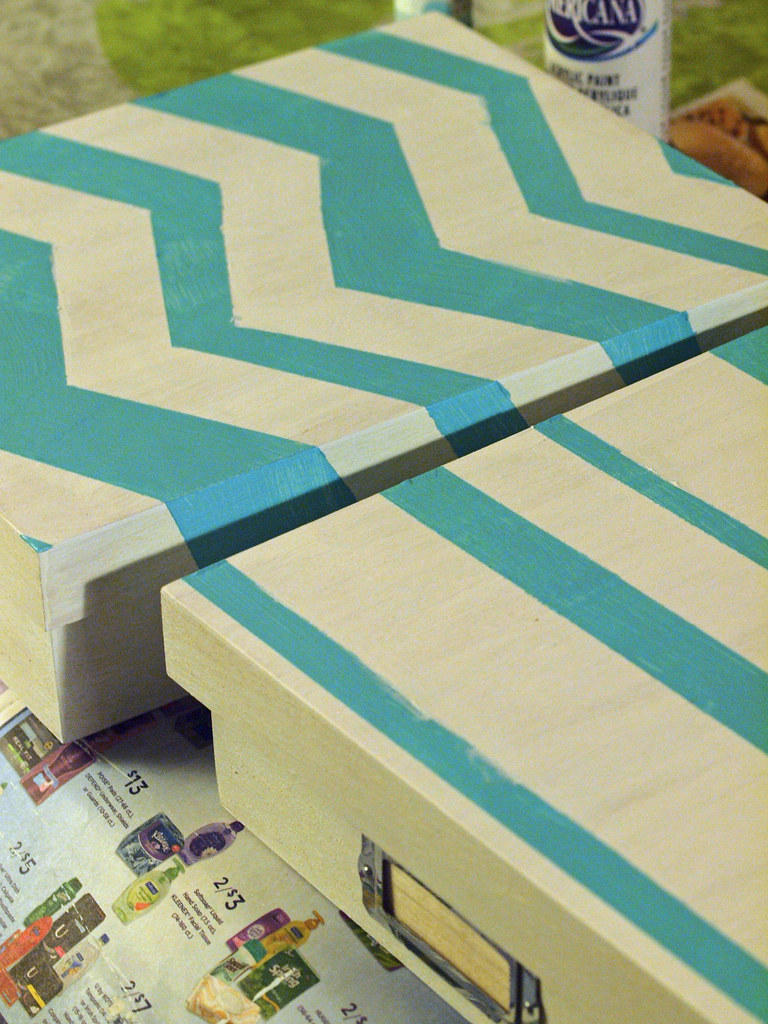
Let dry for a couple of hours or overnight, then remove the tape. Voila!
Optional Step 5: My taping wasn't perfect so I did get some bleed through. I went back with my white paint and tried to touch up some of the spots where the lines weren't perfect.
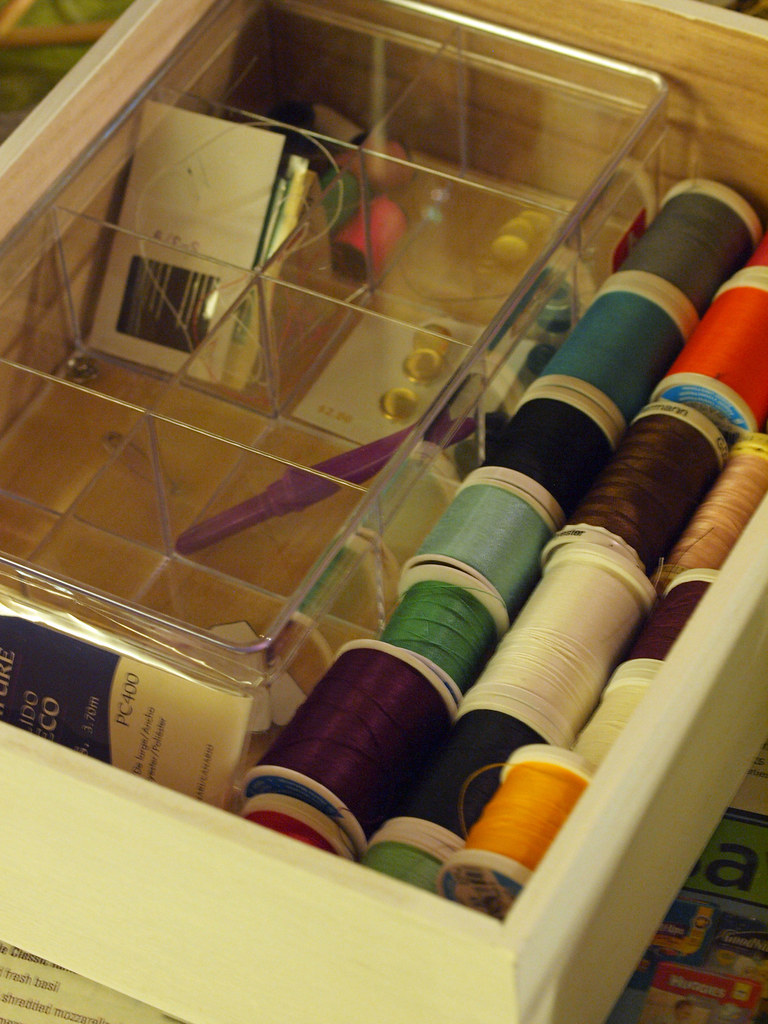
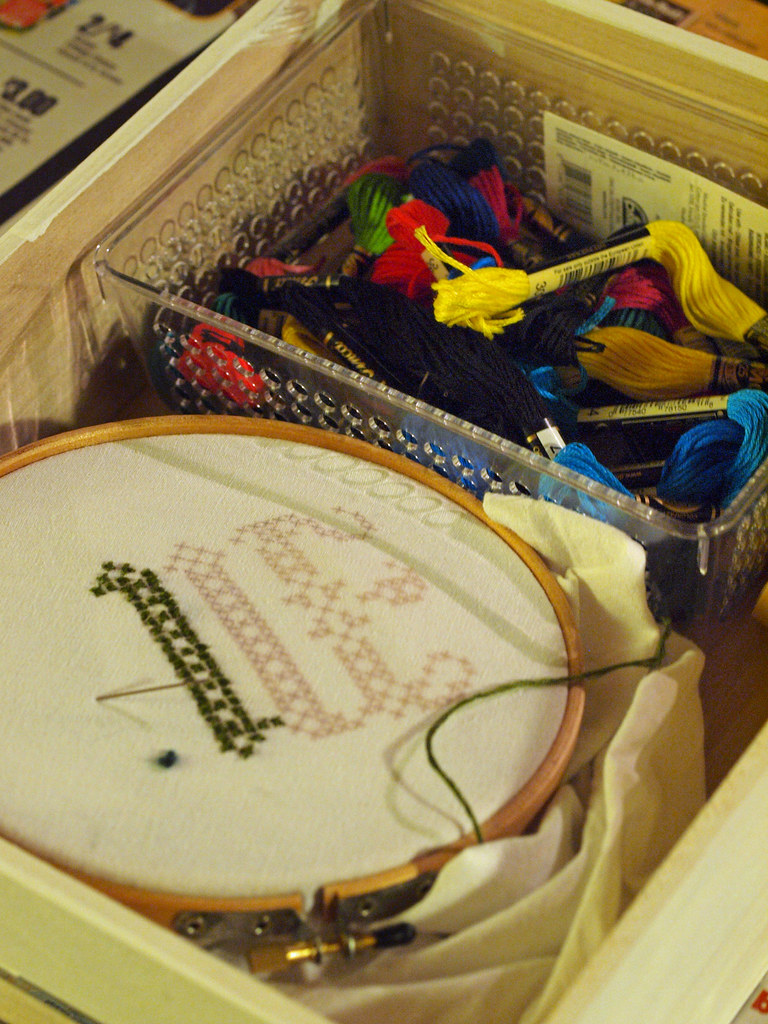
I made one box my sewing box and one for my emboidery. This is a big upgrade from all the different places I used to store all this stuff. Now it's all in one spot!
I got this plastic container from the container store for about $3 or $4 and it's been working well so far.
This little plastic box was from the dollar section at target and works great to wrangle all my thread.

These turned out really cute! I have been looking for in-expensive but cute storage options, this seems like a good idea!
ReplyDeleteCute! I love this idea!
ReplyDeletethis looks too simple to be true -- i'm afraid i'd make a mess of everything. on the other hand, i have lots of boxes that could use the paint...
ReplyDelete